


Perth’s Largest Range of Wood Floors
Massive Discounts on Selected Timbers, Laminates and Bamboo
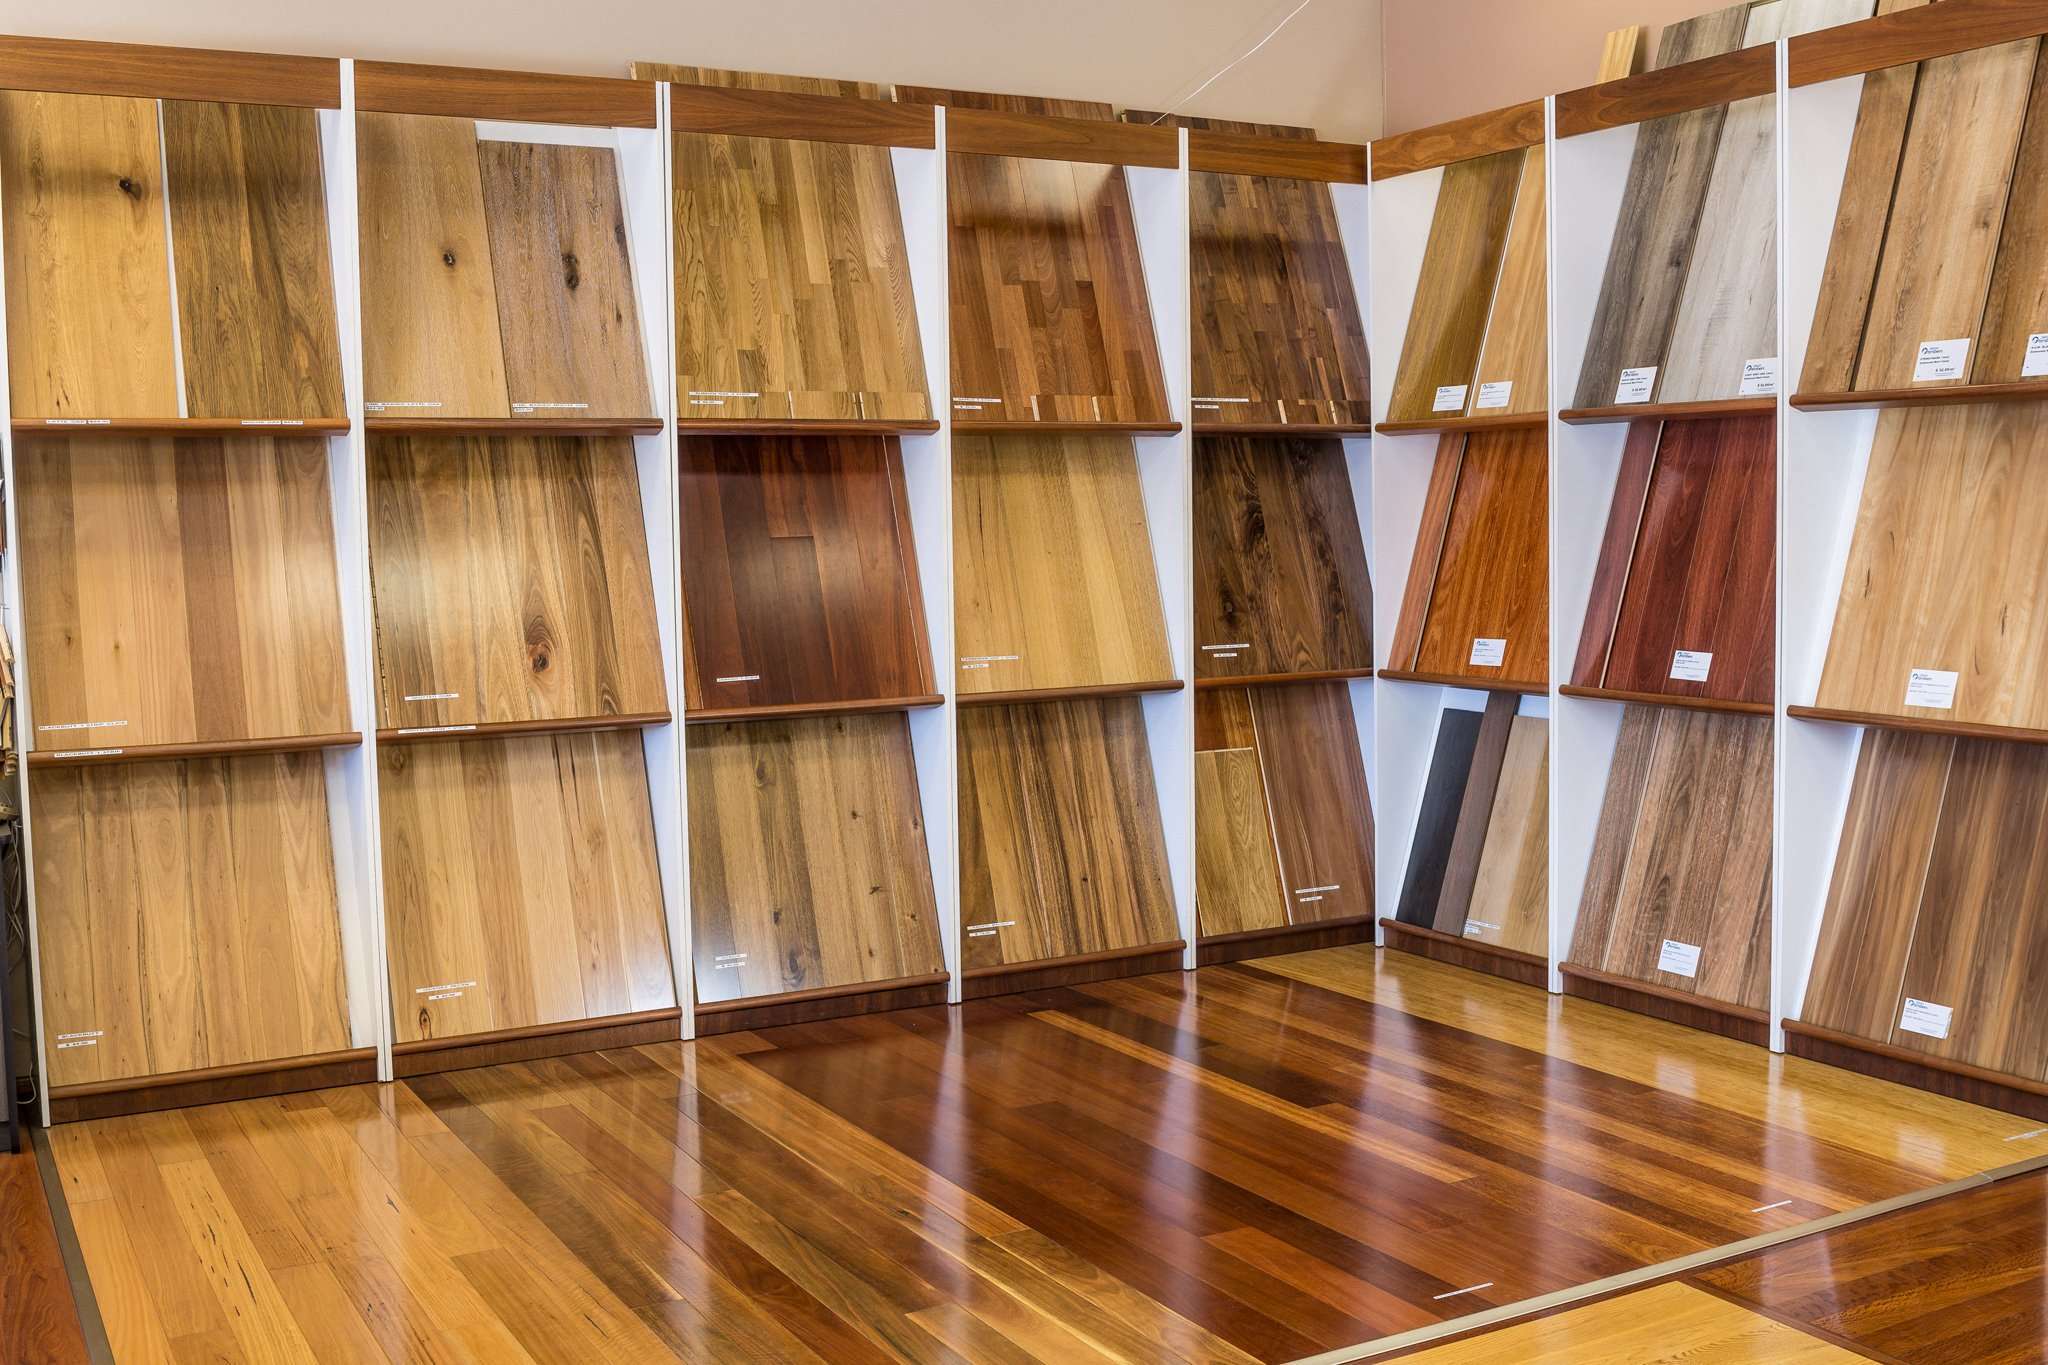
A1 Wood Floors offer Western Australia’s largest range of quality timber, bamboo, laminate, and pre-finished engineered flooring. Our extensive range includes many classic and modern designs, and finishes that will add a stylish quality to enhance your home.
Choose from natural timbers, prefinished or floating floors and our increasingly popular bamboo selection. If you prefer, you can view our vibrant online catalogue, however, we always recommended that you visit us in store and view the colours to ensure you get the most accurate reflection of the floor.
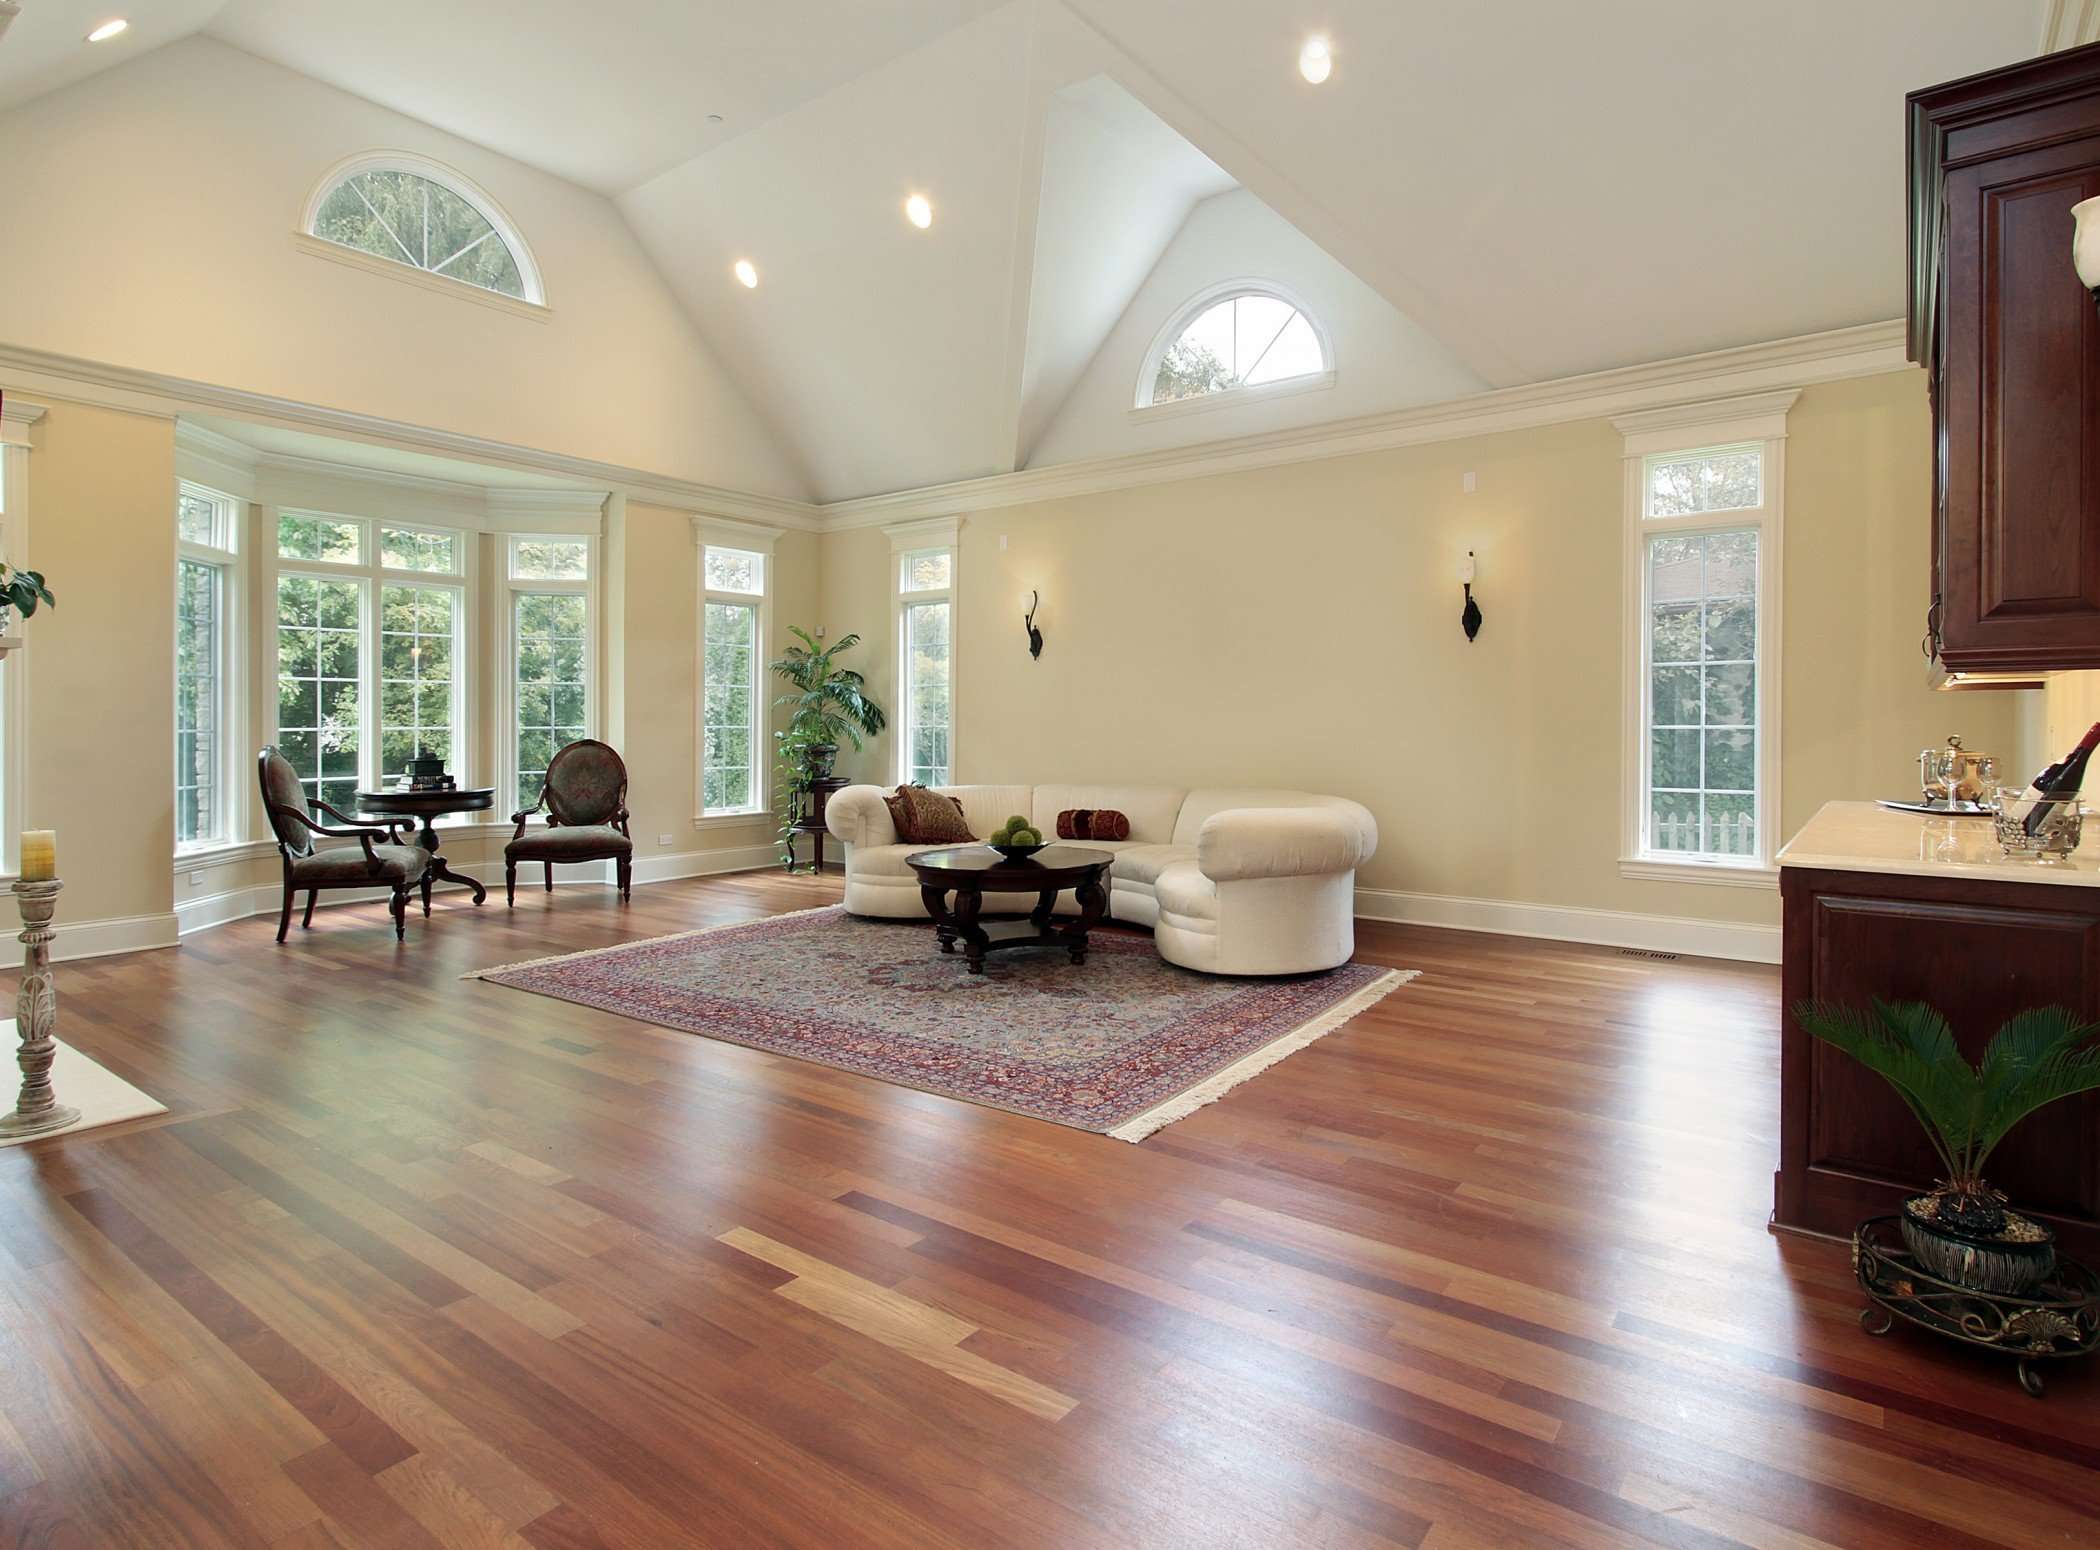
The beauty of wood flooring is never understated as it adds value and stylish ambience to any space. Our selection is designed and manufactured to meet the requirements of various interior décor and architectural requirements. A1 Wood floors is where style meets functionality.
Our experienced team is on hand to show you the different types of flooring available, the various widths, grading and finishes that suits best in different home environments.
As well as our extensive range of flooring choices and competitive prices, we offer a number of additional services to complete your timber flooring experience. This includes an obligation-free measure and quote service at your premises or directly from your house plans. We can also provide a quote for Supply and full installation, sanding and finishing.
Showrooms & Advice
Our showroom in Cannington offers the largest selection of timber, engineered, bamboo laminate flooring in Perth. Visit our showroom where our friendly, knowledgeable staff will assist you in finding the right floor to suit your home and your budget.
You will be shown all the available flooring options and the diverse qualities and features they offer. We’ll inform you about various prices and installation costs, ensuring your total confidence in making the final decision on your flooring choice.
Our installation prices are based on the quality of our products and workmanship which far exceeds industry standards. Spending that little bit extra will deliver both satisfaction and longevity in the amazing floor you choose.
We service throughout the entire Perth metropolitan area including Mandurah and Joondalup.
We are only too willing to help and assist you in any way we can. No job is too small or too big for the A1 Wood Floors team.
For WA’s largest selection of timber flooring contact [email protected] or [email protected] today or contact us on 9350 6211


